How to recover from 'Volume group "vglinux" not found' after a botched kernel upgrade
It’s happened to me twice now. I don’t notice my /boot doesn’t have enough free space to successfully complete a kernel update and am welcomed the morning after by an infinite spinner or some arcane error message if I press F10.
Ubuntu offers very good tutorials on how to make what we nerds used to carry around with us in our backpacks and call a ‘LiveCD’ back in the day. If you’re using Windows to rescue your corrupt Linux perchance, Rufus is an excellent tool for making bootable USB sticks.
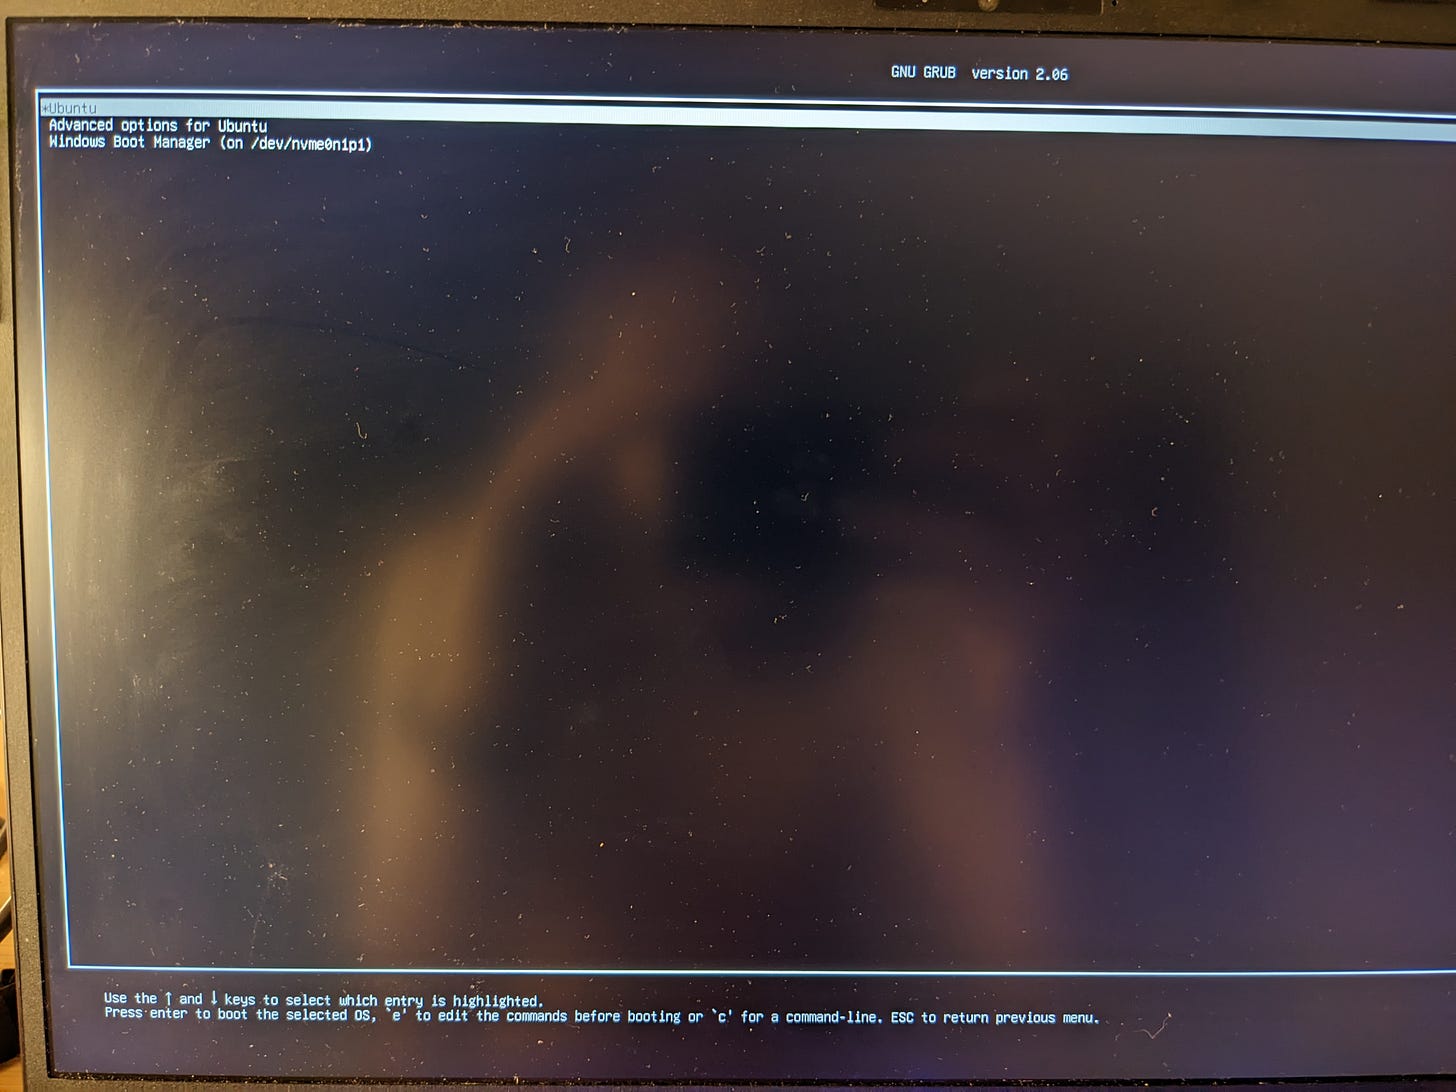
It should be a relatively simple matter to choose the stick as your boot device from your UEFI screen (press DEL or F2 or ESC during boot, maybe?). If it’s today and you’re me, however, not even this will be easy as your computer offers no such option:

Thankfully, one can press ‘c’ and follow this tutorial to force GRUB to boot from the stick. In short:
ls
set root=(hd0,msdos1)
chainloader /efi/boot/grubx64.efi
boot
After choosing to ‘Try Ubuntu’ you’re hopefully now in a familiar environment whence to start slinging incantations.
This citizen right here has it figured out, but still I had to tweak his magic words a bit. The first thing one does as a junior developer is encrypt one’s drive and Linux’s solution for this is LUKS. To work with your newly-corrupted system, you need to decrypt and mount that shit into the LiveCD environment. Without further ado:
sudo blkidWill result in something like this:
Remember to use sudo here as by default you’re the user ‘ubuntu’ in the live image.
Following along with the linked StackExchange answer, one might find it impossible to know what the name of that encrypted drive is in /etc/crypttab, yet. And assigning some random name will produce errors & warnings later. No want. So here’s how you get around that:
sudo cryptsetup luksOpen /dev/disk/by-uuid/31286772-5d73-4ec8-a2cb-348eb3ae9f46 whatever_nameIf it asks for your password and eats the correct one, then you know all is not fucked. Drive’s not fried.
sudo vgchange -ayWill list a bunch of stuff which you can use as input for the next one:
sudo mount /dev/mapper/vglinux-root /mntNow we can peek into our crypttab file and find out the previously used name:
cat /mnt/etc/crypttabLet’s keep that name in mind and deactivate the temporary thing we created:
sudo vgchange -a n
cryptsetup luksClose whatever_name
Re-open it real proper like:
sudo cryptsetup luksOpen /dev/disk/by-uuid/31286772-5d73-4ec8-a2cb-348eb3ae9f46 cryptdrive
sudo vgchange -ay
sudo mount /dev/mapper/vglinux-root /mnt
Assuming you followed a tutorial roughly like this one to create your dual boot setup, you have an unencrypted /boot named ‘boot’, right?
sudo mount /dev/nvme0n1p2 /mnt/bootSo good old commands like ‘ps’ would do anything:
sudo mount -t proc proc /mnt/procSo later commands wouldn’t cry about missing /sys:
sudo mount -t sysfs sys /mnt/sysSo you’d have internet in the chroot jail. This will result in a proper /run/systemd/resolve/stub-resolv.conf file in there:
sudo mount -o bind /run /mnt/runSo your repair commands would have access to the same devices you usually have:
sudo mount -o bind /dev /mnt/devTo avoid complaints about ‘missing pty’. And before you ask, I don’t know what a ‘pseudo terminal’ is, either:
sudo mount -o bind /dev/pts /mnt/dev/ptsI also didn’t understand a word of ChatGPT’s explanation.
sudo chroot /mntCongrats, you’re now inside the system you borked yesterday and can hopefully get back to work soon.
Take a gander at your /boot and see if you can make more room there if you ran out like me:
cd /boot
ls -lah
mv initrd.img-something-something /somewhere/else
Also decide if you want to try and reinstall the previous kernel or the one you so hilariously failed to replace it with.
Then:
apt-get install --reinstall linux-image-5.19.0-41-generic linux-headers-5.19.0-41-generic linux-modules-5.19.0-41-generic linux-tools-5.19.0-41-genericDo this stuff without sudo, you’re already root.
The previous command should have already rewritten your initial RAM filesystem, but for good measure:
update-initramfs -c -k allCure this by using ‘none’ for the keys thing:

After a reboot - it’ll ask you nicely to remove the stick - all should be good. I’m proud of you.


